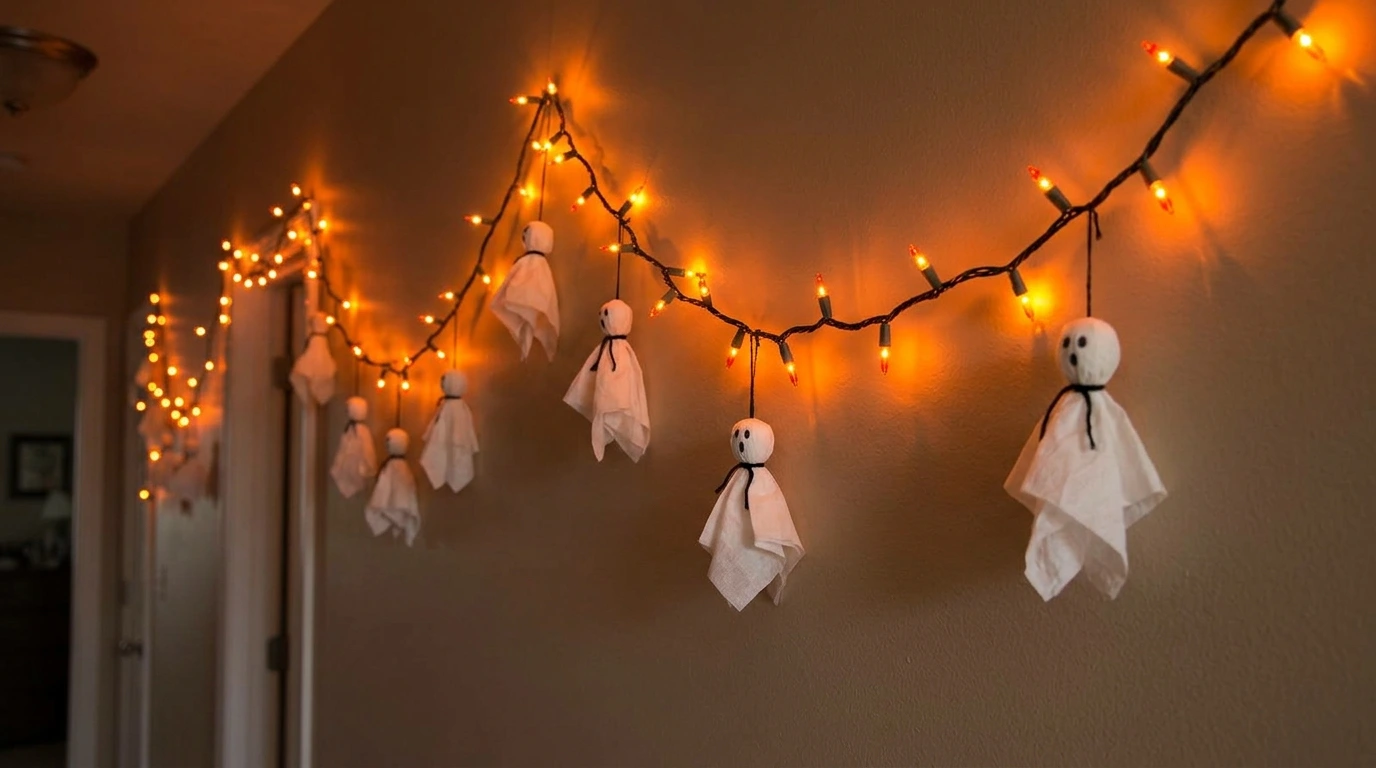
Halloween decor can add up fast if you’re not careful.
One moment you’re grabbing some faux cobwebs, and the next, you’re staring at a receipt that looks like you bought a haunted house. Trust me, I’ve been there.
The good news? You don’t need to spend a lot to make your home festive and spooky.
I’ve put together 13 budget-friendly Halloween home decor ideas that are fun, simple to do, and won’t leave your wallet feeling empty.
Whether you’re prepping for a party, trick-or-treaters, or just want to enjoy the season, these ideas will help you create a spooky atmosphere without breaking the bank.
1. DIY Ghost Garland 👻
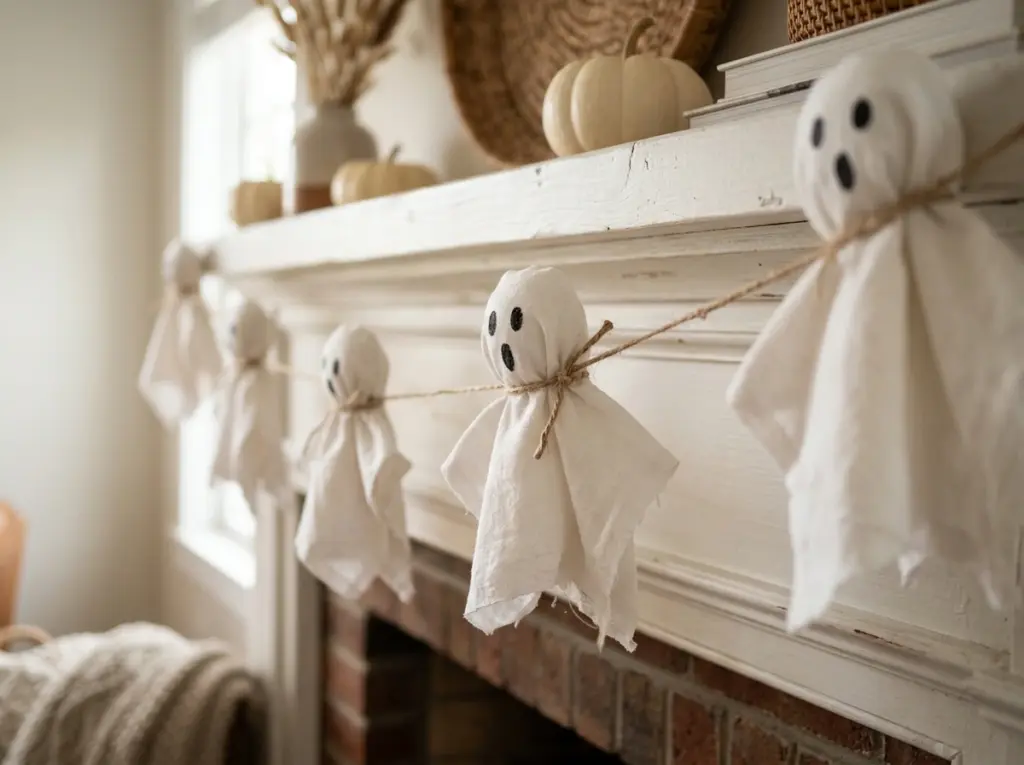
Why it works: It’s cute, creepy, and costs next to nothing.
How to Make It:
- Grab some white tissue paper or fabric scraps.
- Ball up a small piece for the head, then drape another piece over it.
- Tie with string and draw on eyes with a marker.
- String them together and hang across your mantel or doorway.
Pro tip: I used old pillowcases once. They looked adorable and slightly tragic—perfect ghost energy.

2. Painted Pumpkins
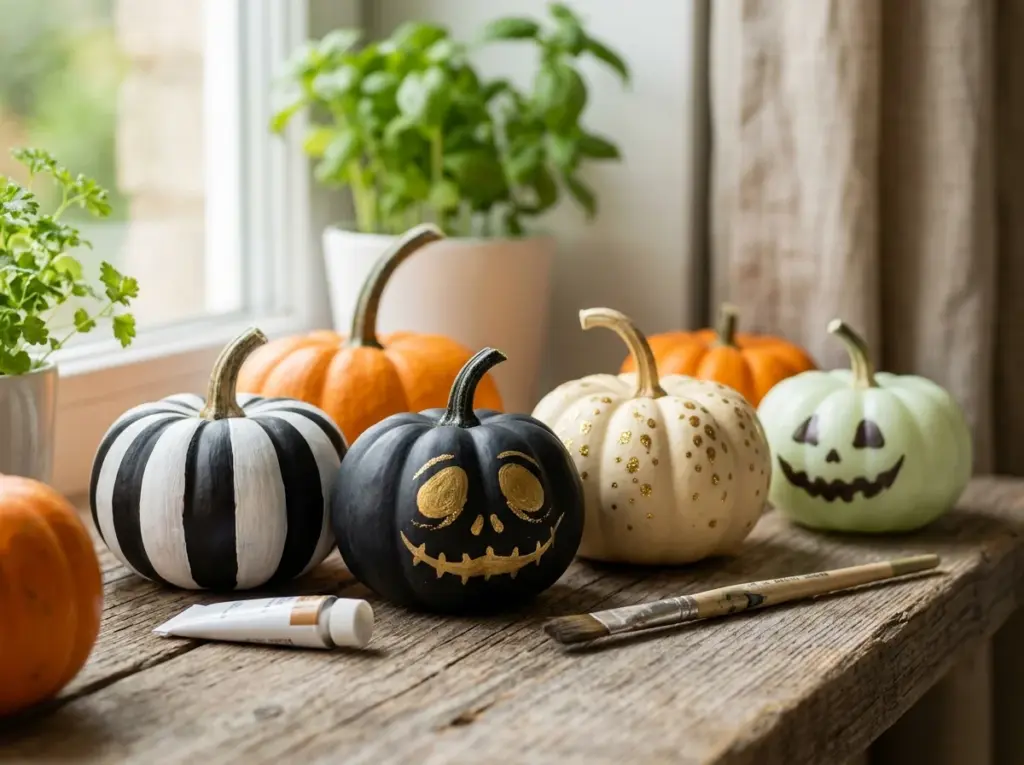
Why it works: It’s cheaper than carving and way less messy.
What You’ll Need:
- A few small pumpkins (real or faux).
- Acrylic paint or spray paint.
- Brushes, stencils, or tape for designs.
Ideas to Try:
- Black and white stripes
- Gold glitter accents
- Creepy faces or spooky words
FYI: I painted one with glow-in-the-dark paint and it became the star of my porch.
3. Trash Bag Spiderwebs
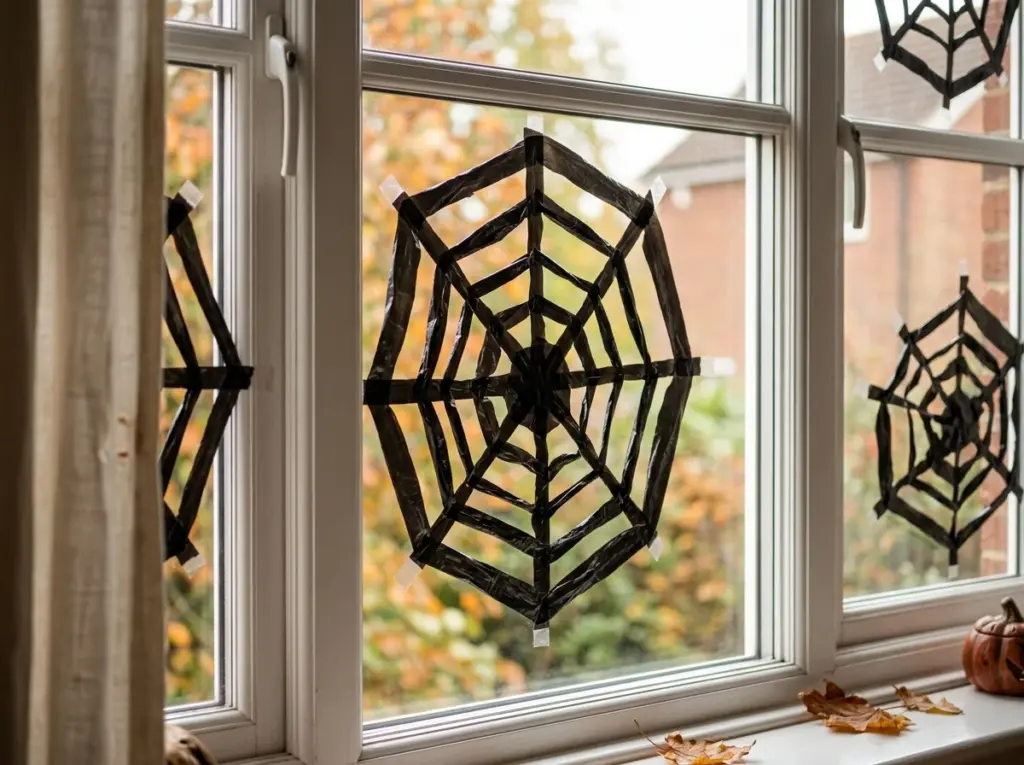
Why it works: It’s genius-level cheap and surprisingly cool-looking.
How to Make It:
- Cut open a black trash bag.
- Fold it like a snowflake and cut out a web pattern.
- Unfold and tape to windows or walls.
IMO: This one’s perfect for last-minute decorators who still want to impress.
4. Floating Candles
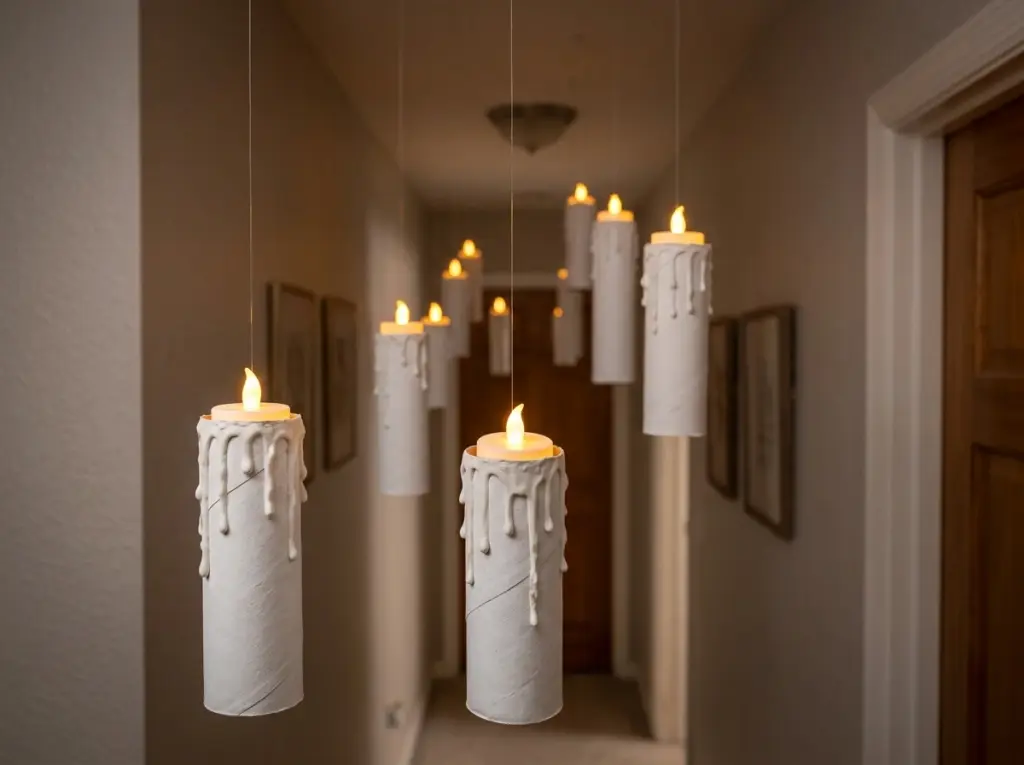
Why it works: It gives major haunted mansion vibes for pennies.
What You’ll Need:
- Toilet paper rolls or paper towel tubes
- Hot glue to create “wax drips”
- White paint and battery-operated tea lights
- Fishing line to hang
Personal note: I hung these in my hallway and my cousin legit asked if I had a ghost budget. I said, “Nope, just a glue gun.”
5. Creepy Mirror Messages
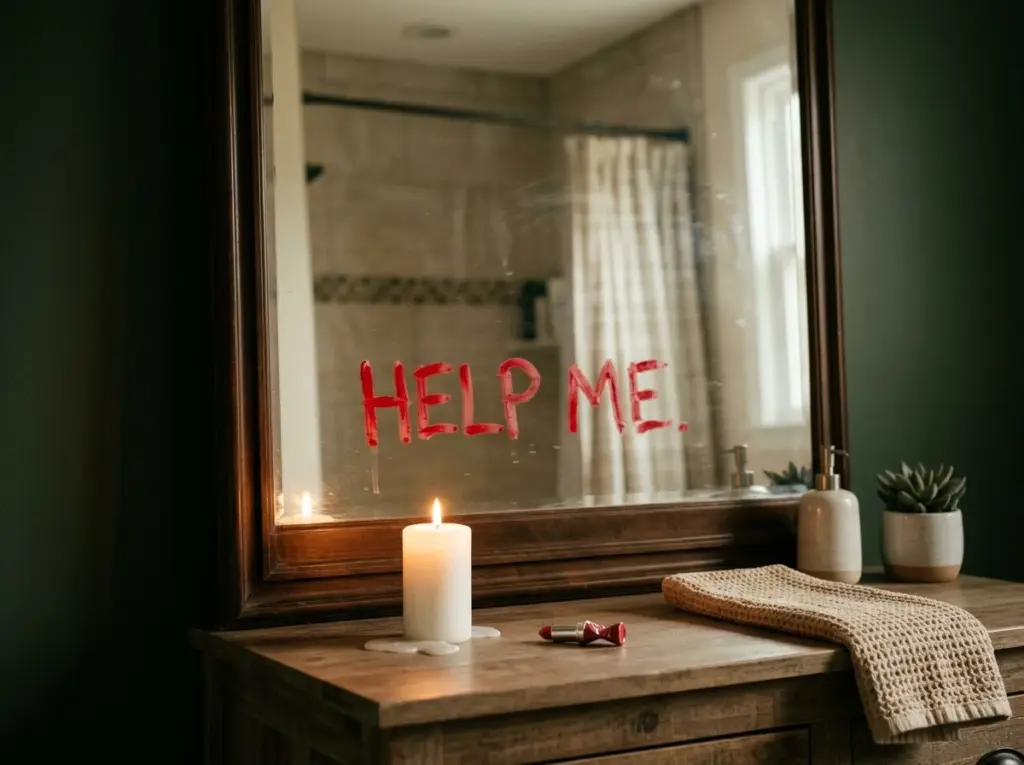
Why it works: It’s subtle, eerie, and totally free.
How to Do It:
- Use red lipstick or dry-erase marker to write spooky messages on mirrors.
- Think “Help Me,” “I See You,” or “Get Out.”
- Add a flickering candle nearby for extra drama.
Rhetorical moment: Isn’t it wild how a simple message can make your bathroom feel like a horror movie?
6. DIY Tombstones
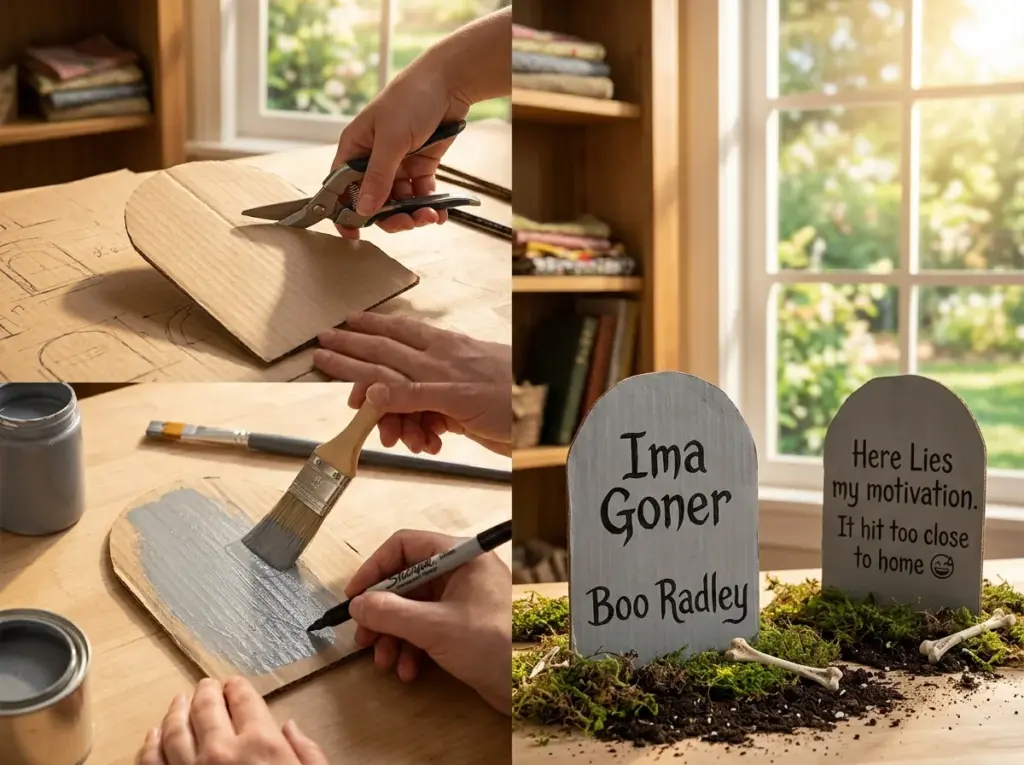
Why it works: It turns your yard or hallway into a graveyard—on a budget.
What You’ll Need:
- Cardboard or foam board
- Grey paint and black marker
- Optional: moss, dirt, or fake bones
Steps:
- Cut tombstone shapes.
- Paint grey and let dry.
- Write funny or spooky names like “Ima Goner” or “Boo Radley.”
Personal tip: I made one that said “Here Lies My Motivation.” It hit a little too close to home.
7. Monster Door
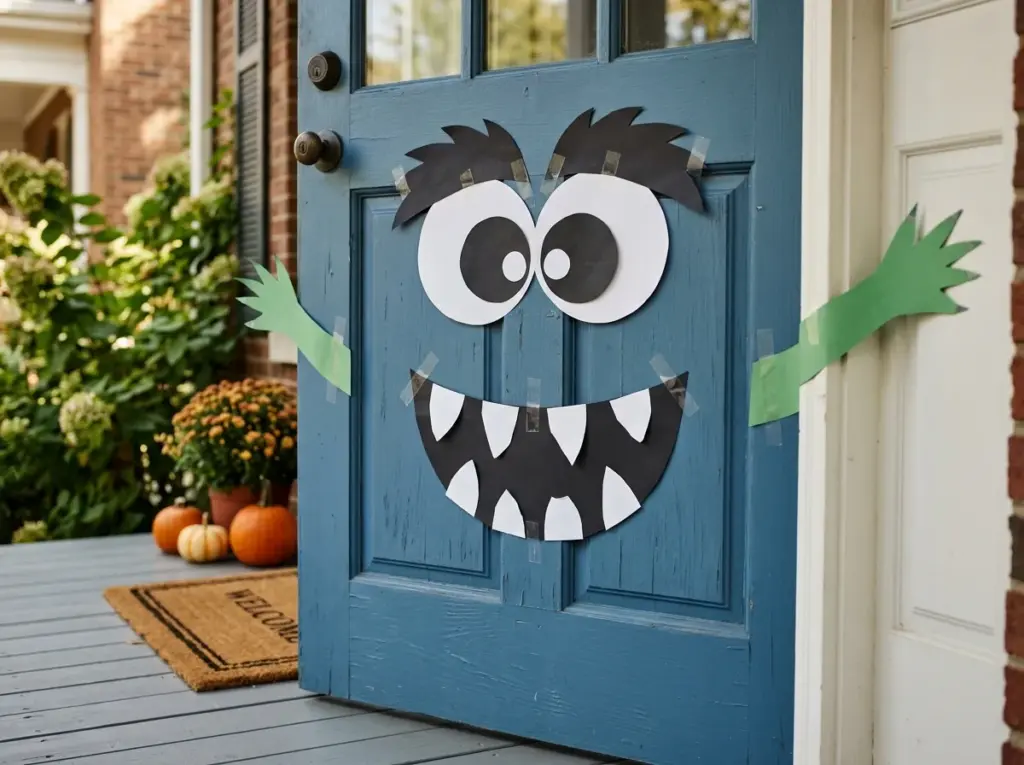
Why it works: It’s playful, easy, and perfect for families.
What You’ll Need:
- Construction paper
- Tape
- Scissors
How to Style It:
- Cut out eyes, teeth, and eyebrows.
- Tape them onto your front door to create a monster face.
- Add arms or claws if you’re feeling extra.
FYI: This one gets smiles from trick-or-treaters every time.
8. Spooky Silhouettes
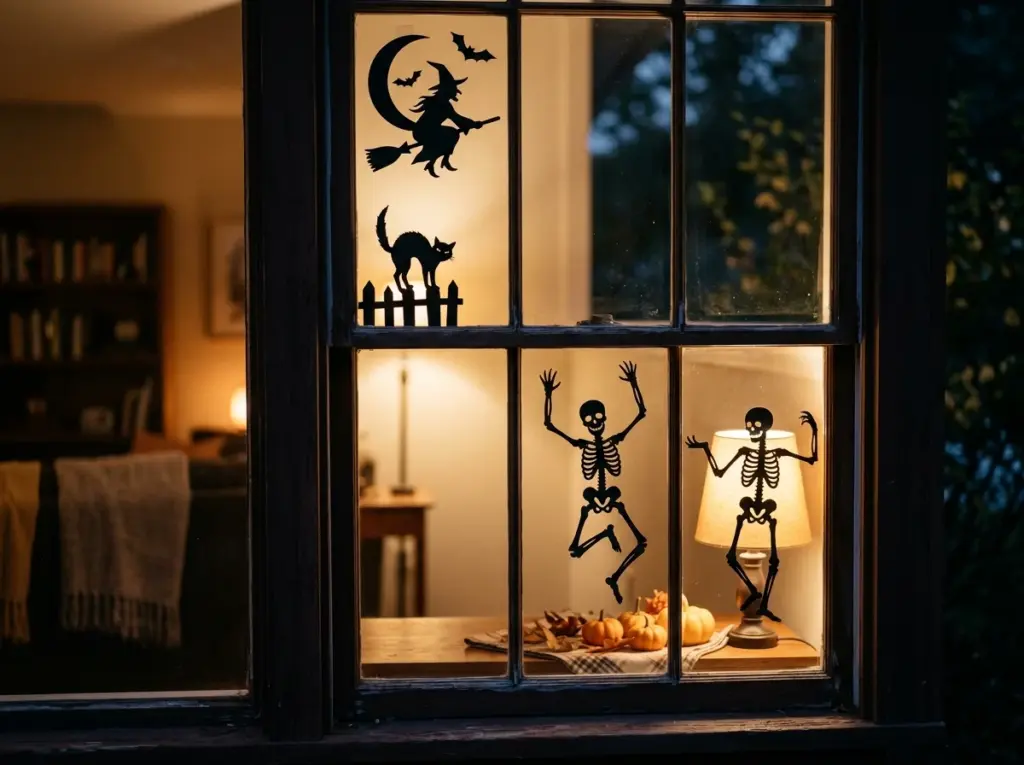
Why it works: It’s dramatic and costs next to nothing.
What You’ll Need:
- Black cardstock or poster board
- Scissors
- Tape
Ideas to Try:
- Witches flying
- Cats arching
- Skeletons dancing
Pro tip: Tape them to windows and backlight with lamps for a creepy glow.
9. Mason Jar Lanterns
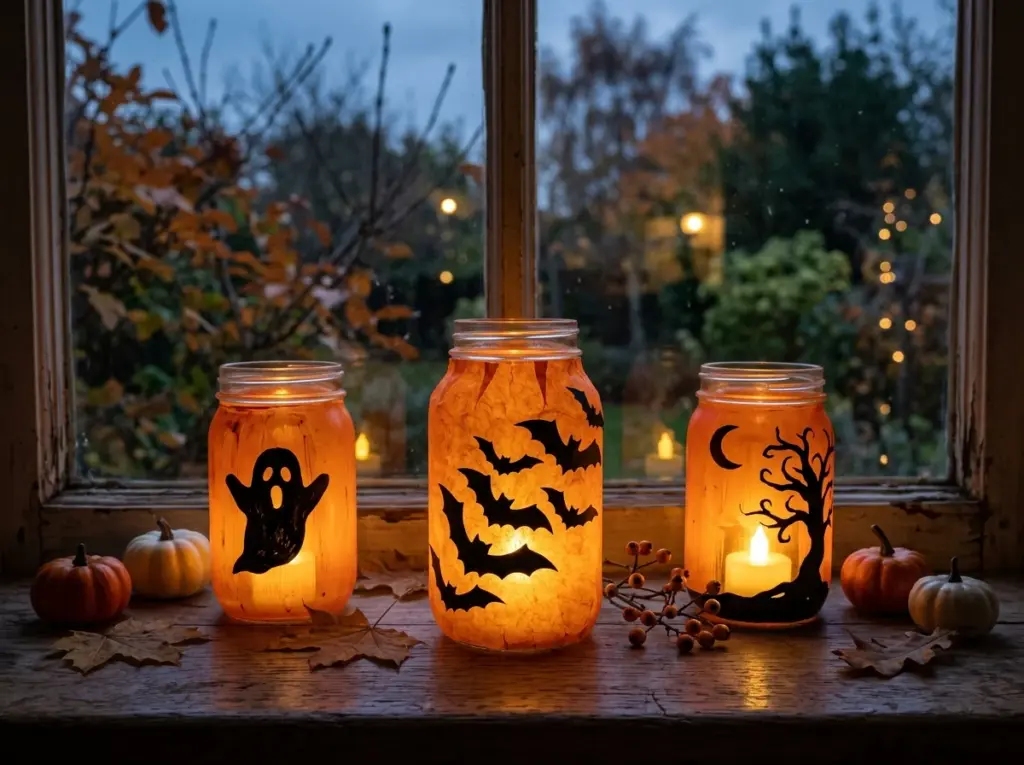
Why it works: It’s cozy, customizable, and uses stuff you probably already have.
What You’ll Need:
- Mason jars or recycled glass containers
- Tissue paper or paint
- Battery-operated candles
How to Make It:
- Decorate jars with spooky faces or silhouettes.
- Drop in a candle and let them glow.
- Line them up on your windowsill or porch.
Personal note: I made one with a bat silhouette and it looked way fancier than it actually was.
10. Bat Swarm Wall
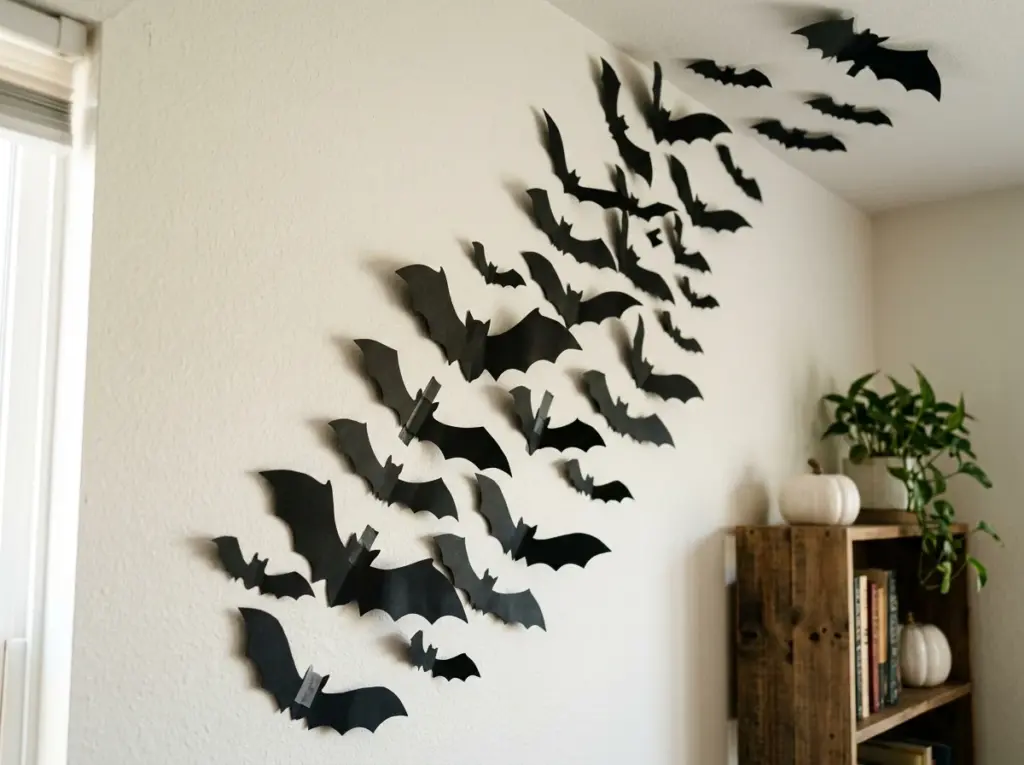
Why it works: It’s simple, striking, and super cheap.
What You’ll Need:
- Black paper
- Scissors
- Tape
Steps:
- Cut out bat shapes in various sizes.
- Tape them in a flying pattern across your wall.
- Add a few on the ceiling for surprise sightings.
IMO: This one’s perfect for adding drama without clutter.
11. DIY Potion Bottles
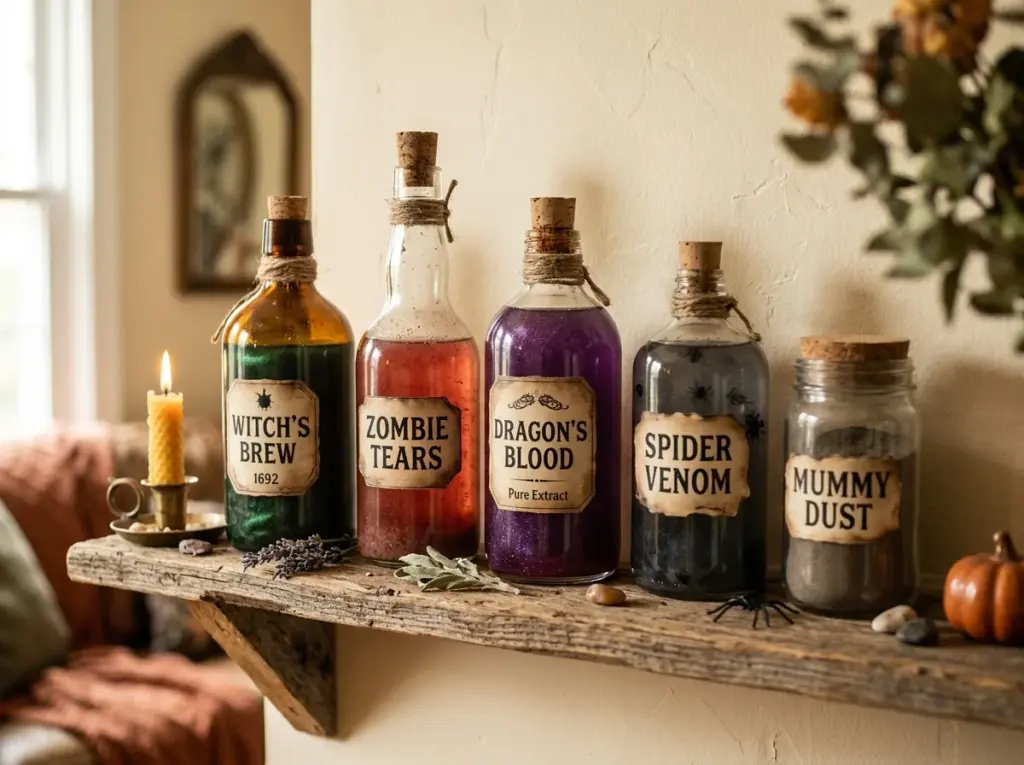
Why it works: It’s witchy, weird, and totally customizable.
What You’ll Need:
- Empty bottles or jars
- Food coloring and water
- Labels like “Zombie Tears” or “Witch’s Brew”
How to Style It:
- Fill bottles with colored water.
- Add creepy labels and place on shelves or mantels.
- Optional: Add glitter or plastic bugs for extra flair.
Rhetorical question: Who doesn’t want a shelf full of mysterious potions?
12. Cobweb Corner
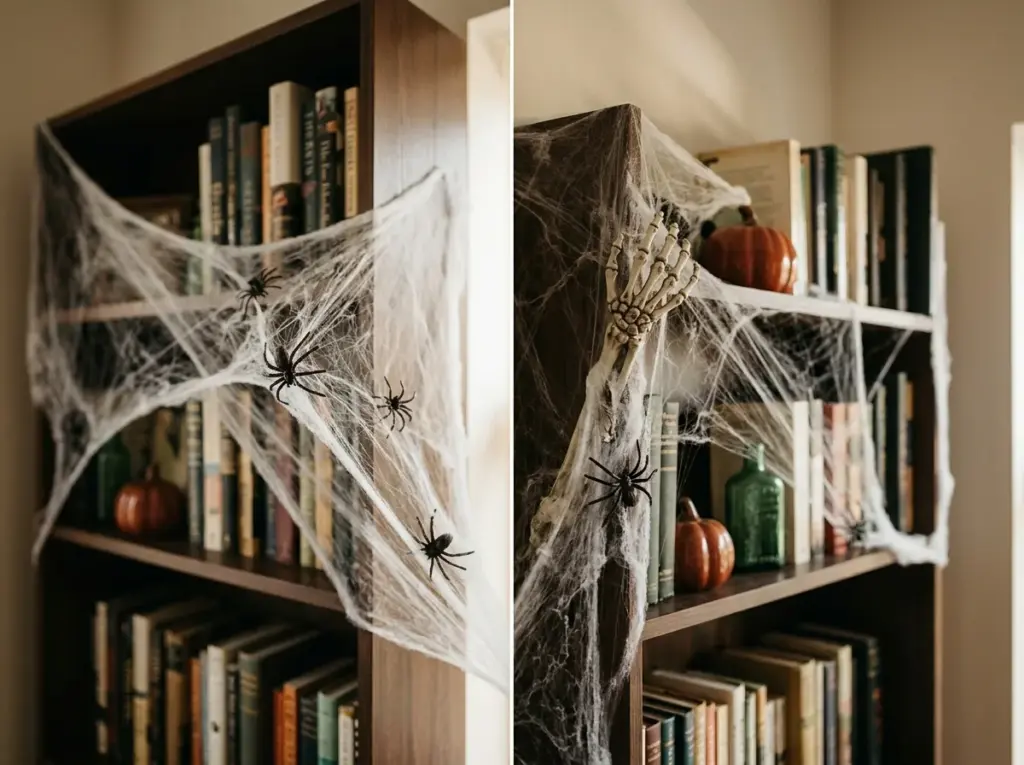
Why it works: It’s classic, creepy, and takes five minutes.
What You’ll Need:
- Faux cobwebs
- Plastic spiders
- Tape or hooks
How to Style It:
- Stretch cobwebs across a corner or bookshelf.
- Add spiders and maybe a skeleton hand.
- Dim the lights for full effect.
Personal tip: I once added a blinking LED spider. It scared me more than anyone else.
13. Halloween Photo Wall
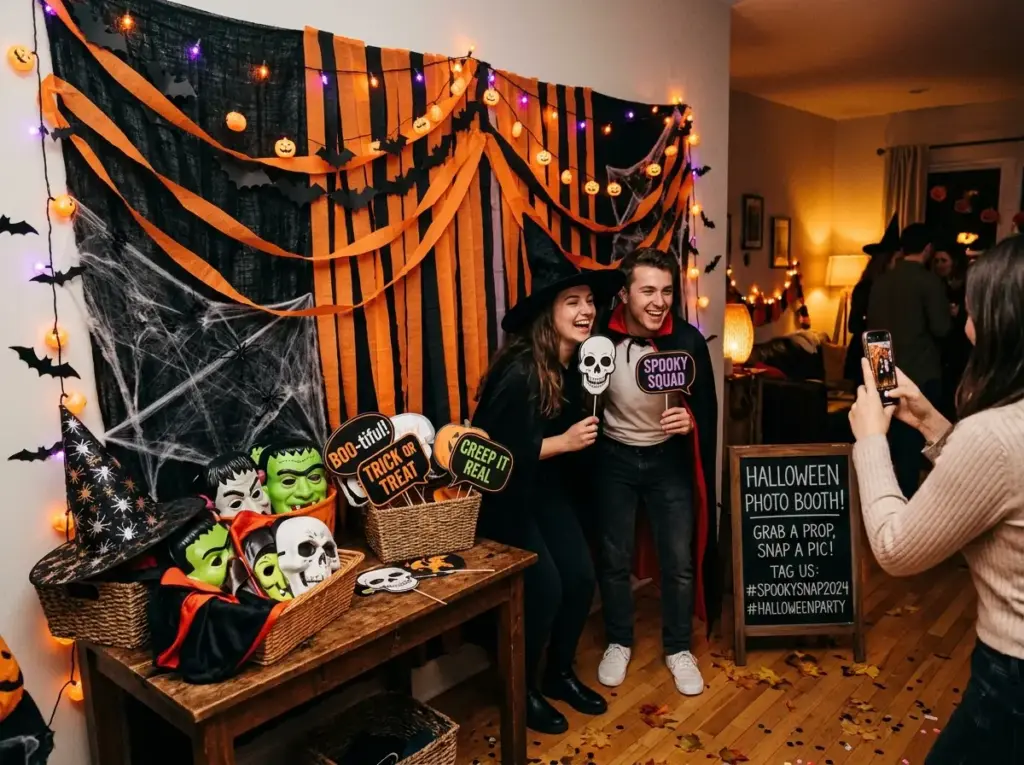
Why it works: It’s interactive and perfect for parties.
What You’ll Need:
- Black or orange backdrop (fabric or paper)
- Props like hats, masks, or signs
- String lights or garlands
How to Style It:
- Set up a corner with your backdrop and props.
- Add lighting and spooky accents.
- Encourage guests to snap pics and tag you.
FYI: This one turns your decor into a memory-maker. Bonus points if you add a hashtag.
Quick Tips for Budget-Friendly Halloween Decorating
Before you start crafting like a possessed Pinterest board, here are a few things to keep in mind:
- Reuse what you have. Old jars, fabric scraps, and cardboard are gold.
- Stick to a theme. Cohesive decor looks more expensive than it is.
- Layer textures. Mix paper, fabric, and lighting for depth.
- Shop smart. Dollar stores, thrift shops, and your own garage are treasure troves.
- Keep it fun. If it makes you smile (or scream), it’s a win.
Final Thoughts
Halloween doesn’t have to drain your bank account to be fabulous.
With a little creativity and a few household items, you can transform your space into a spooky wonderland that’s festive, fun, and totally budget-friendly.
Whether you go for ghost garlands, monster doors, or a full-on bat swarm, the key is to make it your own and enjoy the process.
So grab your scissors, raid your recycling bin, and get decorating.
And if someone asks how you pulled it off? Just smile and say, “Oh, you know… Halloween magic.” 😉