
Let’s discuss the true star of Halloween decor: the front door wreath. We often focus on porch designs and spooky inflatables, but your front door is the first thing guests see.
So, why not make it scream Halloween (figuratively, unless you have sound effects—then, respect)?
I’ve tried everything from creepy spider wreaths to glam gothic florals. I can say a good Halloween wreath really sets the mood.
Whether you want eerie elegance or a haunted house vibe, these 13 Halloween wreath ideas for your front door are easy, budget-friendly, and sure to earn you compliments (and maybe a few double takes).
1. Classic Pumpkin Wreath
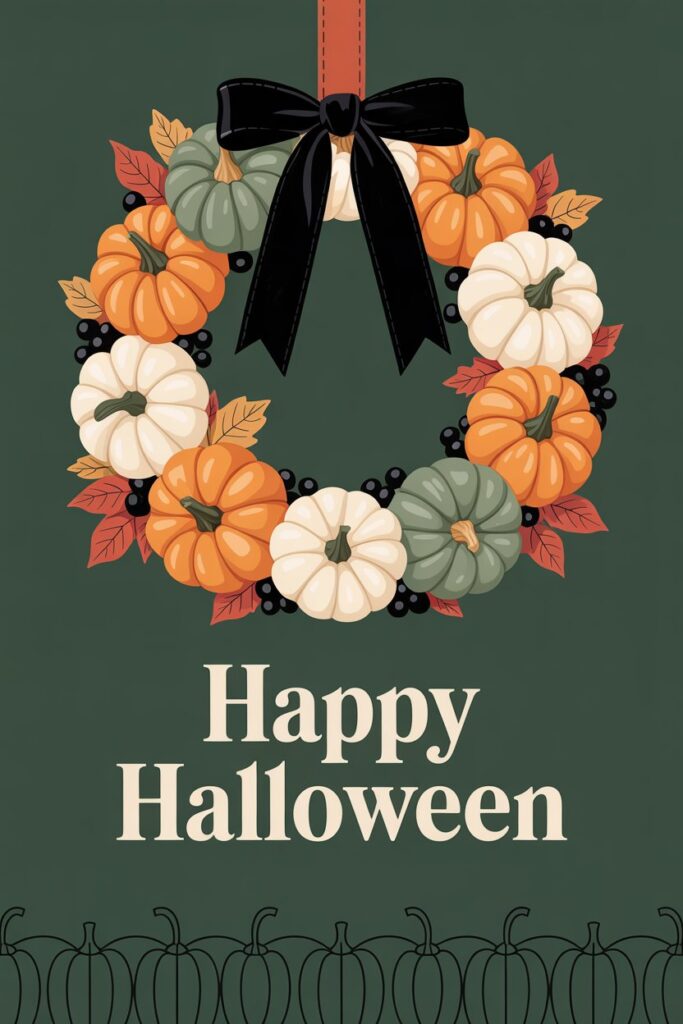
Why it works: It’s festive, timeless, and gives off cozy fall vibes with a spooky twist.
What You’ll Need:
- Faux mini pumpkins
- Grapevine wreath base
- Fall leaves and berries
- Black ribbon or bow
How to Style It: Arrange pumpkins around the wreath base, tuck in leaves and berries, and finish with a black bow. You can go orange overload or mix in white and green pumpkins for a modern twist.
Personal tip: I used cinnamon-scented pinecones once. My door smelled like a haunted bakery. Loved it.
2. Gothic Glam Wreath
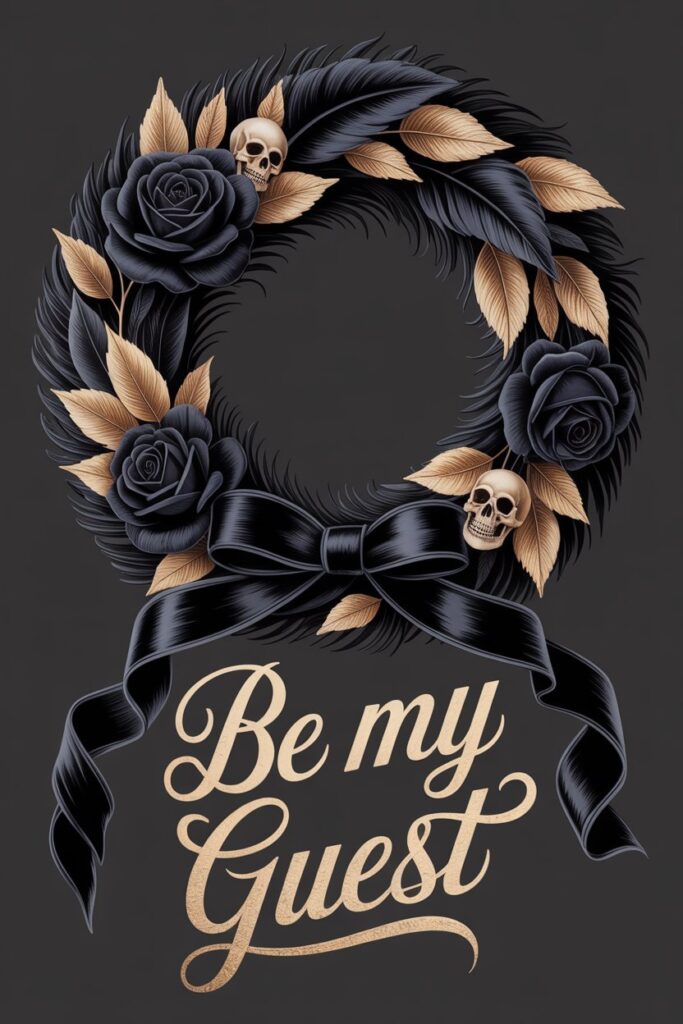
Why it works: It’s moody, dramatic, and perfect for those who want spooky without the kitsch.
What You’ll Need:
- Black roses or peonies
- Dark feathers
- Metallic accents (gold or silver)
- Velvet ribbon
How to Style It: Layer black florals and feathers around a black wreath base. Add metallic leaves or skulls for contrast. Finish with a velvet bow.
Rhetorical moment: Ever seen a wreath that looks like it belongs in a vampire’s boudoir? This is it.
3. Skeleton Wreath ☠️
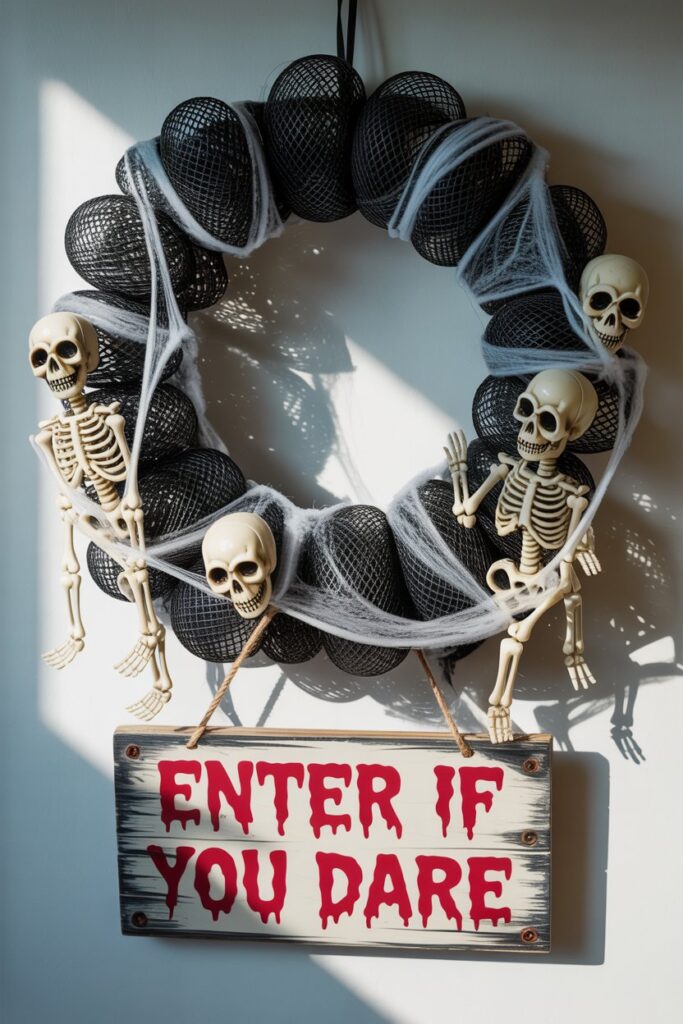
Why it works: It’s creepy, playful, and always gets a reaction.
What You’ll Need:
- Mini skeletons or skulls
- Black mesh or tulle
- Spiderwebs
- Creepy signage (“Enter If You Dare”)
How to Style It: Wrap mesh around the base, glue on skeleton parts, and weave in spiderwebs. Add a sign for extra flair.
FYI: I once added a motion sensor that laughed when people walked by. My mailman was not amused.
4. Witch Hat Wreath
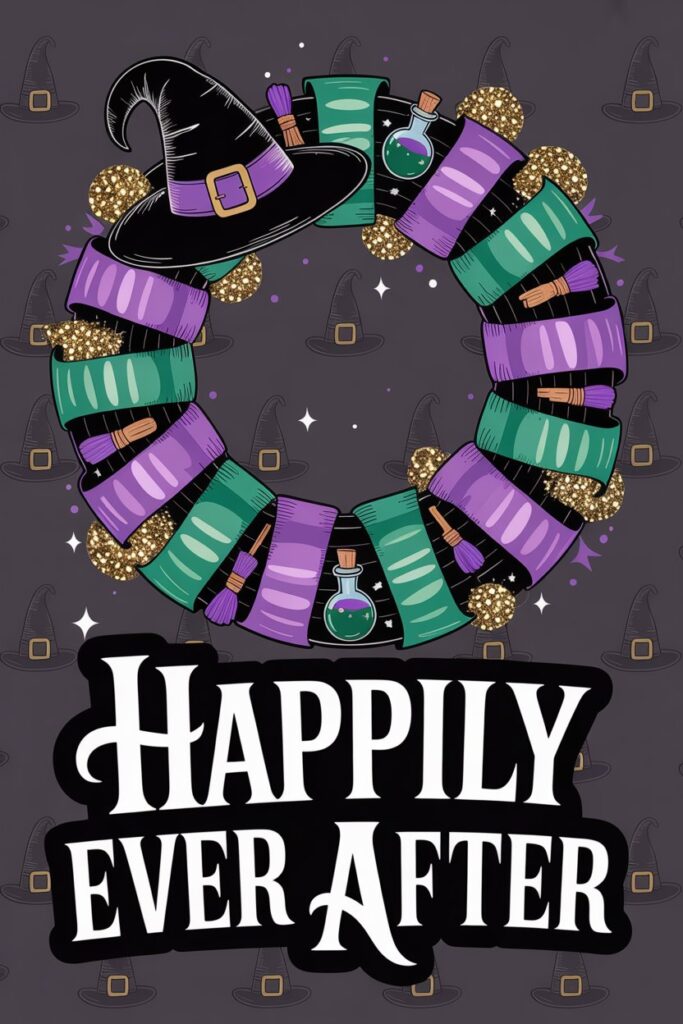
Why it works: It’s whimsical and perfect for families or themed parties.
What You’ll Need:
- Witch hat (as the base or centerpiece)
- Purple and green ribbon
- Faux broomstick or potion bottles
- Glitter accents
How to Style It: Use the hat as the focal point and build around it with ribbon, florals, and witchy props. Hang it slightly tilted for extra sass.
IMO: This one’s a hit with kids and adults alike. Bonus points if you add a black cat plush.
5. Spiderweb Wreath
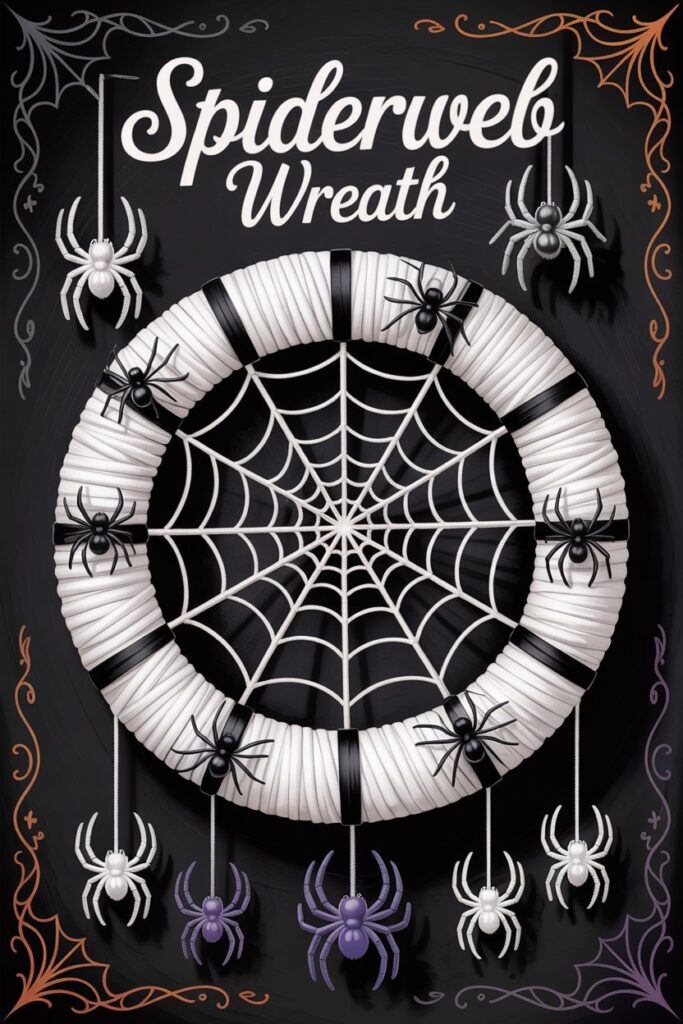
Why it works: It’s simple, spooky, and super easy to DIY.
What You’ll Need:
- Wire wreath frame
- White yarn or string
- Plastic spiders
- Black spray paint (optional)
How to Style It: Wrap yarn in a web pattern across the frame. Spray the frame black if needed. Add spiders and maybe a few dangling from threads.
Personal note: I used glow-in-the-dark spiders once. They looked amazing at night and mildly terrifying in daylight.
6. Haunted Forest Wreath
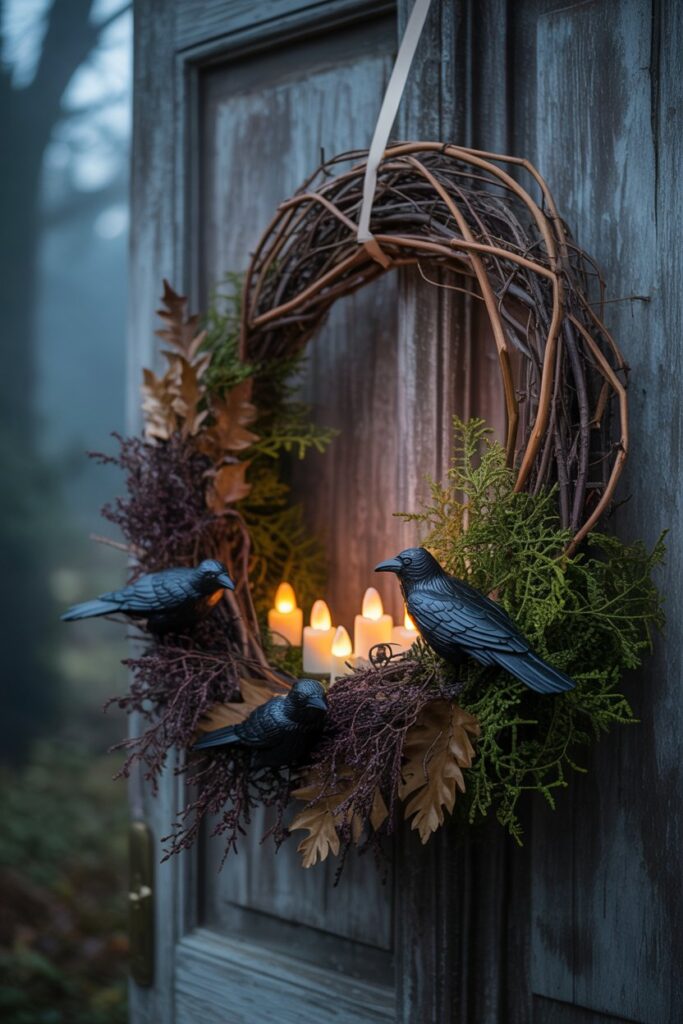
Why it works: It’s earthy, eerie, and gives off “I live near a cursed tree” vibes.
What You’ll Need:
- Twigs and moss
- Faux crows or owls
- Dark green and brown florals
- LED candles (optional)
How to Style It: Build a base with twigs and moss. Nestle in birds and florals. Add tiny LED candles if you want a flickering effect.
Rhetorical question: Who wouldn’t want their door to look like the entrance to a haunted woodland?
7. Candy Corn Wreath 🍬
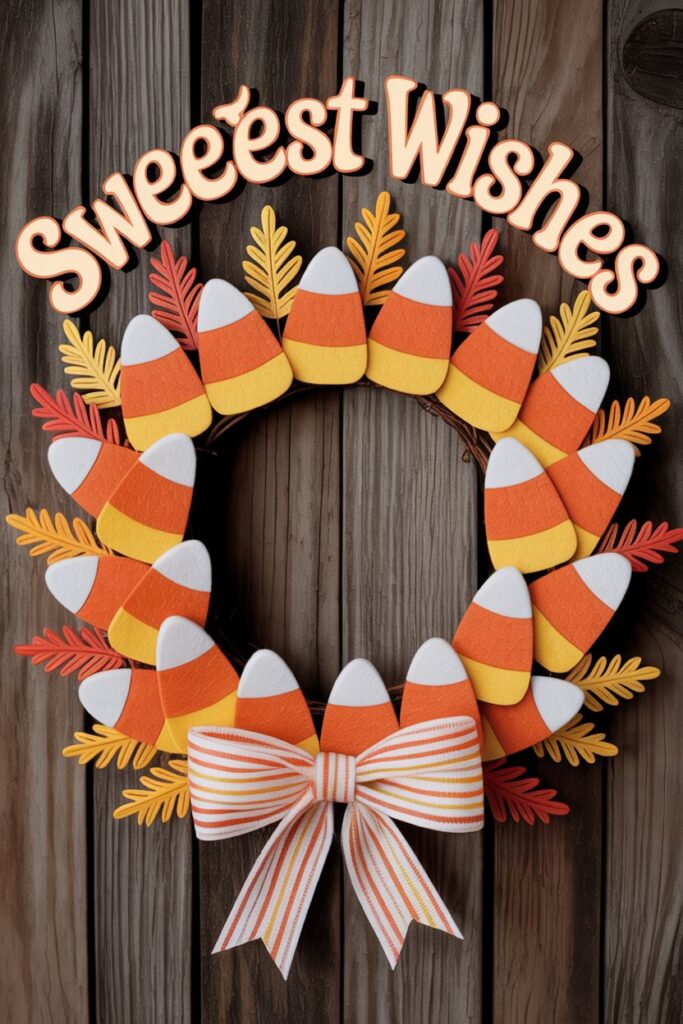
Why it works: It’s bright, cheerful, and perfect for sweet-toothed decorators.
What You’ll Need:
- Orange, yellow, and white ribbon or fabric
- Foam or felt candy corn shapes
- White wreath base
How to Style It: Wrap the base in candy corn colors. Glue on candy shapes and finish with a matching bow.
FYI: I made one with actual wrapped candy once. It looked great until the ants showed up. Lesson learned.
8. Eyeball Wreath 👁️
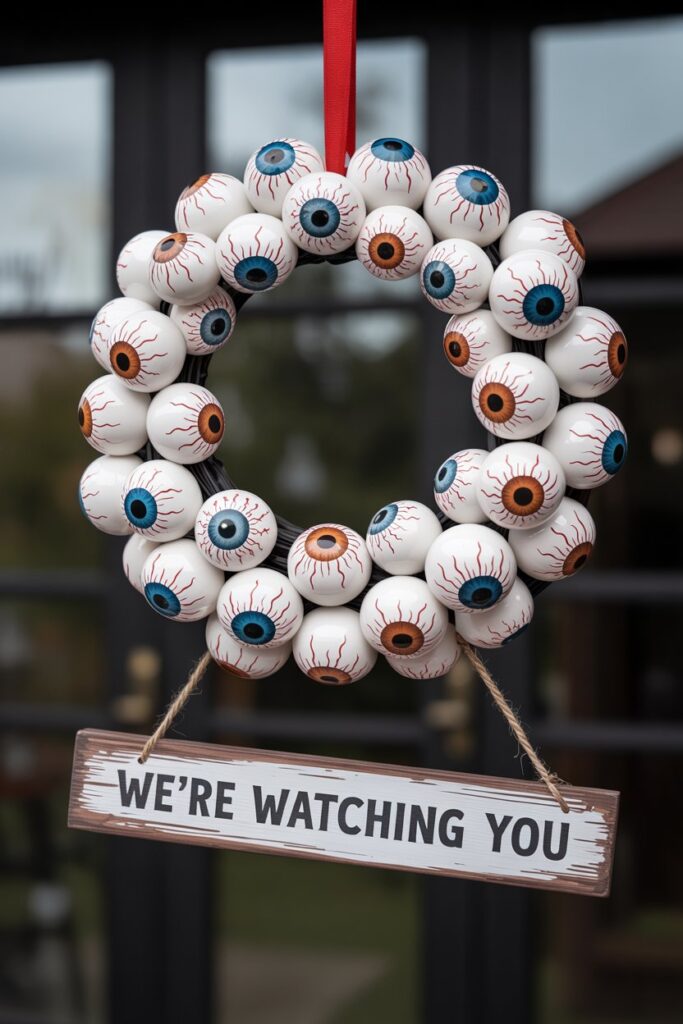
Why it works: It’s weird, hilarious, and totally unexpected.
What You’ll Need:
- Ping pong balls or plastic eyeballs
- Black wreath base
- Red ribbon or paint for “veins”
- Creepy signage
How to Style It: Glue eyeballs all over the base. Add red accents for realism. Finish with a sign like “We’re Watching You.”
Personal tip: I added googly eyes to mine. It was less scary, more ridiculous—and I loved it.
9. Vintage Halloween Wreath
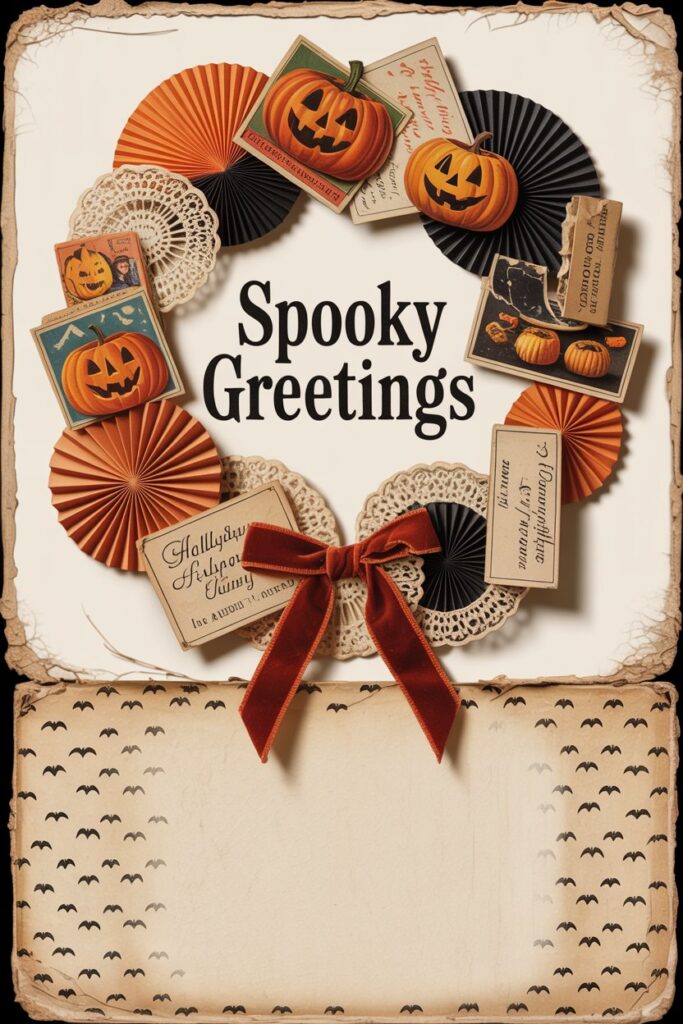
Why it works: It’s nostalgic, charming, and totally unique.
What You’ll Need:
- Retro Halloween prints or postcards
- Orange and black paper fans
- Classic candy wrappers
- Lace or doilies
How to Style It: Layer paper fans and lace around the base. Add vintage prints and candy wrappers. Finish with a bow made from old ribbon.
IMO: This one’s perfect if you love Halloween but hate plastic decor.
10. Boo Banner Wreath
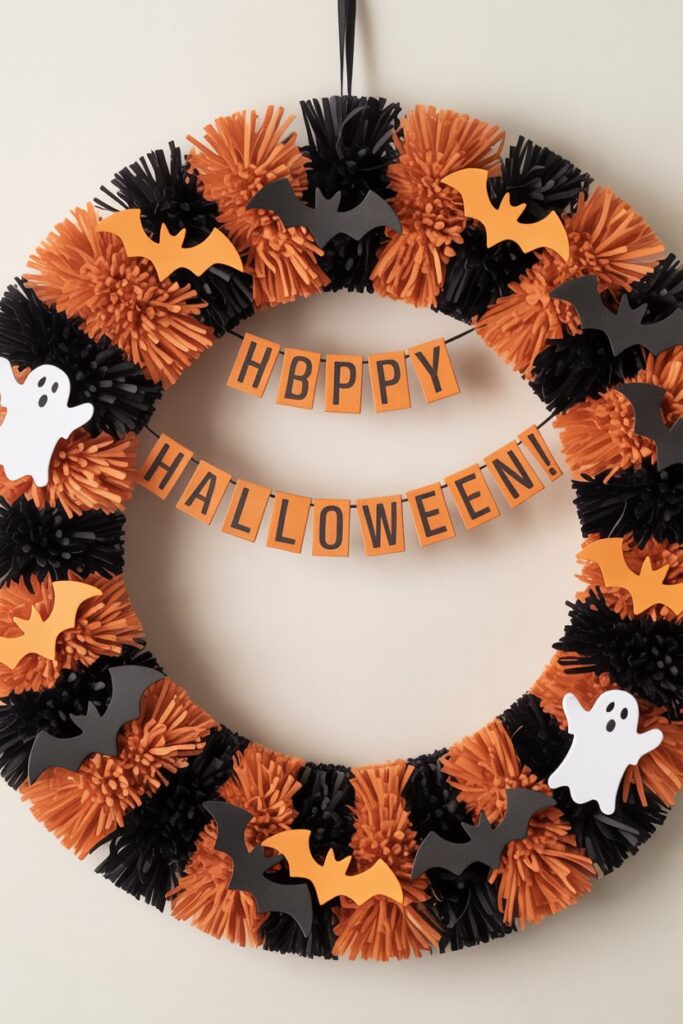
Why it works: It’s playful and easy to customize.
What You’ll Need:
- Mini banner that spells “BOO”
- Black and orange ribbon
- Pom-poms or tassels
- Foam bats or ghosts
How to Style It: Wrap ribbon around the base. Hang the banner across the center. Add pom-poms and foam shapes for texture.
Rhetorical moment: Isn’t it fun when your wreath talks back?
11. Harvest Wreath with a Twist

Why it works: It’s cozy and seasonal with a hint of Halloween.
What You’ll Need:
- Fall leaves and wheat stalks
- Mini pumpkins and gourds
- Black accents (ribbon, berries, spiders)
- Burlap bow
How to Style It: Build a harvest-style wreath, then sneak in Halloween touches. Think black berries or a hidden spider.
Personal note: I call mine “Pumpkin Spice with a Side of Creepy.” It’s a vibe.
12. DIY Paper Wreath
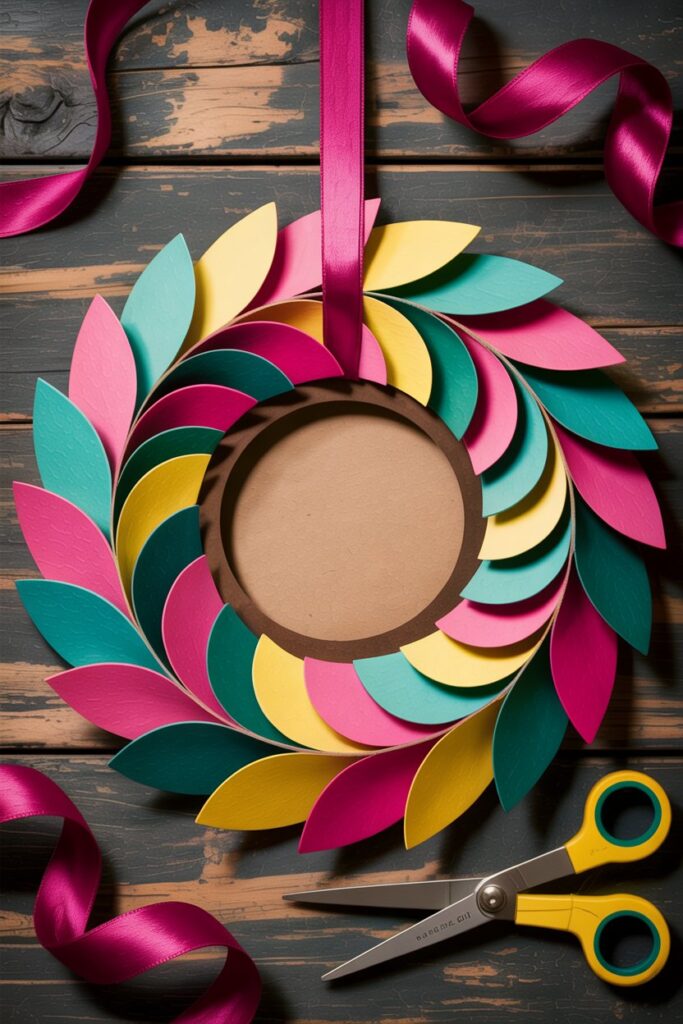
Why it works: It’s budget-friendly and surprisingly stylish.
What You’ll Need:
- Colored cardstock or scrapbook paper
- Scissors and glue
- Ribbon or string
How to Style It: Cut paper into leaf or petal shapes. Glue them in layers around a cardboard ring. Add ribbon to hang.
FYI: This one’s great for kids or anyone who loves crafting without the mess.
13. Minimalist Halloween Wreath
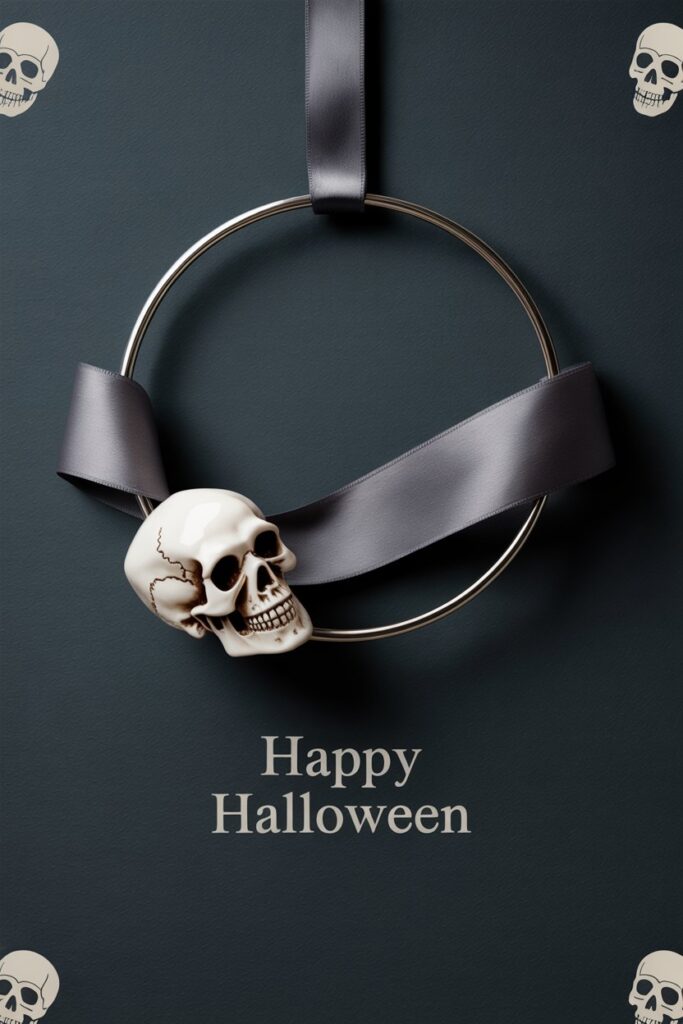
Why it works: It’s sleek, modern, and perfect for subtle spookiness.
What You’ll Need:
- Black metal hoop
- One or two statement elements (skull, bat, pumpkin)
- Monochrome ribbon
How to Style It: Keep it clean and simple. Attach one bold element and let it shine. Hang with a black or white ribbon.
IMO: This one’s perfect if you want Halloween vibes without the clutter.
Quick Tips for Halloween Wreath Success
Before you start gluing eyeballs and wrapping ribbon like a possessed crafter, here are a few things to keep in mind:
- Pick a theme. Cohesive wreaths always look more polished.
- Balance your colors. Stick to 2–3 main tones for visual harmony.
- Layer textures. Mix fabric, florals, paper, and plastic for depth.
- Use a sturdy base. Grapevine, wire, or foam work best.
- Hang it securely. No one wants a wreath flying off mid-storm.
Final Thoughts
Halloween wreaths are the ultimate way to set the spooky tone before guests even step inside.
Whether you go for gothic glam, skeleton chaos, or a candy corn explosion, the best wreath is the one that makes you smile (or cackle).
So grab your glue gun, raid your craft stash, and start creating. And if someone asks where you bought it? Just wink and say, “Oh, this? Just a little Halloween magic.” 😉