
Store-bought Christmas wreaths can cost a lot, and many look dated. 😬 Why not make your own this year? It’s cheaper, more personal, and honestly, weirdly therapeutic.
I’ve crafted wreaths every December for the past few years. It’s a tradition that gets you in the festive spirit.
You’ve got twinkling lights, cinnamon-scented candles, and Mariah Carey reminding you she still wants you for Christmas.
So, grab your glue gun and a mug of cocoa. I’ll guide you through a Christmas wreath DIY tutorial step by step—even if you think you’re a “non-crafter”! 😉
Step 1: Gather Your Materials Like a Pro 🎁

Before we even think about hot glue or ribbon, let’s get our supplies in order. Trust me, running around the house mid-project looking for scissors is not the festive vibe we’re going for.
Here’s your ultimate DIY wreath starter pack:
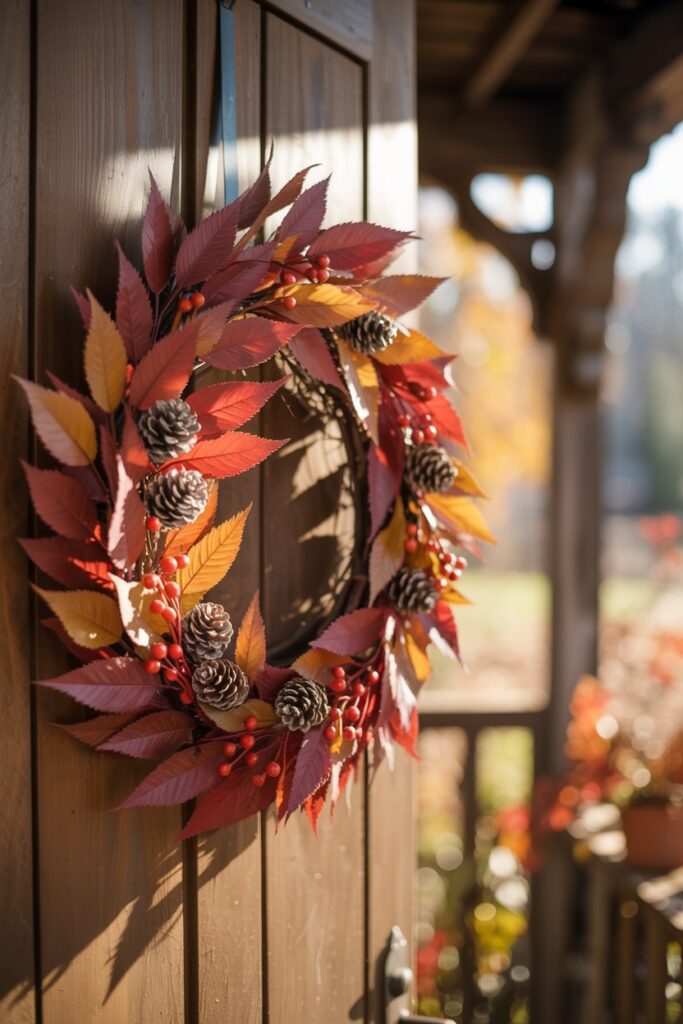
- Wreath Base – Choose between grapevine, wire, or foam. (I personally love a grapevine wreath because it looks rustic even before you decorate.)
- Greenery – Go for fresh pine, eucalyptus, or faux greenery. Faux lasts longer and no one has to know 😉
- Decorative Accents – Think pinecones, berries, bells, ornaments, or cinnamon sticks.
- Ribbon or Bow – Try a wired ribbon like the Morex Wired Christmas Ribbon from Amazon—it shapes perfectly every time.
- Hot Glue Gun & Glue Sticks – The Surebonder Dual Temperature Glue Gun works wonders (and saves you from melted fingers).
- Floral Wire or Twist Ties – For securing greenery.
- Scissors & Wire Cutters – Don’t underestimate the power of good cutters—try the Fiskars SoftGrip Wire Cutter for comfort.
Pro tip: Lay everything out on a table before you start. It’s like prepping your kitchen ingredients before cooking—except this project smells like pine instead of garlic.

Step 2: Choose Your Wreath Base Wisely 🌲

Ever wondered why some wreaths look effortlessly chic and others look like a craft explosion? It’s all about the base.
- Grapevine Wreaths give that cozy, farmhouse feel (perfect for rustic decor).
- Foam Wreaths are smooth and ideal if you’re planning to glue on small ornaments.
- Wire Wreath Frames work great for layering real greenery.
If you want that “I got this from a fancy boutique” look, go with a grapevine base. It hides mistakes better and gives your wreath some natural depth—AKA instant upgrade.
Step 3: Prep Your Greenery 🌿

Okay, here’s where things start looking festive. If you’re using real greenery, give it a little trim and remove any brown or wilted parts. You don’t want your wreath looking tired before Christmas even arrives.
If you’re using faux greenery, fluff it out! Those plastic branches have been squished in a box for months. Gently spread them apart to make them look more lifelike.
Optional: Spray a bit of pine-scented room spray like Yankee Candle’s Balsam & Cedar for that “fresh forest” vibe—minus the sap.
Step 4: Attach the Greenery Base 🌿

Now it’s time to secure your greenery to the wreath frame. Wrap the stems around the frame and use floral wire to hold them in place. Layer each piece slightly over the previous one so it flows naturally in one direction (like a Christmas runway model).
If you’re using a hot glue gun, work in small sections. Glue, press, hold for a few seconds, and repeat.
Pro tip: Don’t aim for perfection here. Wreaths look best when they have a few wild, uneven edges. Perfect symmetry is for robots, not Christmas.
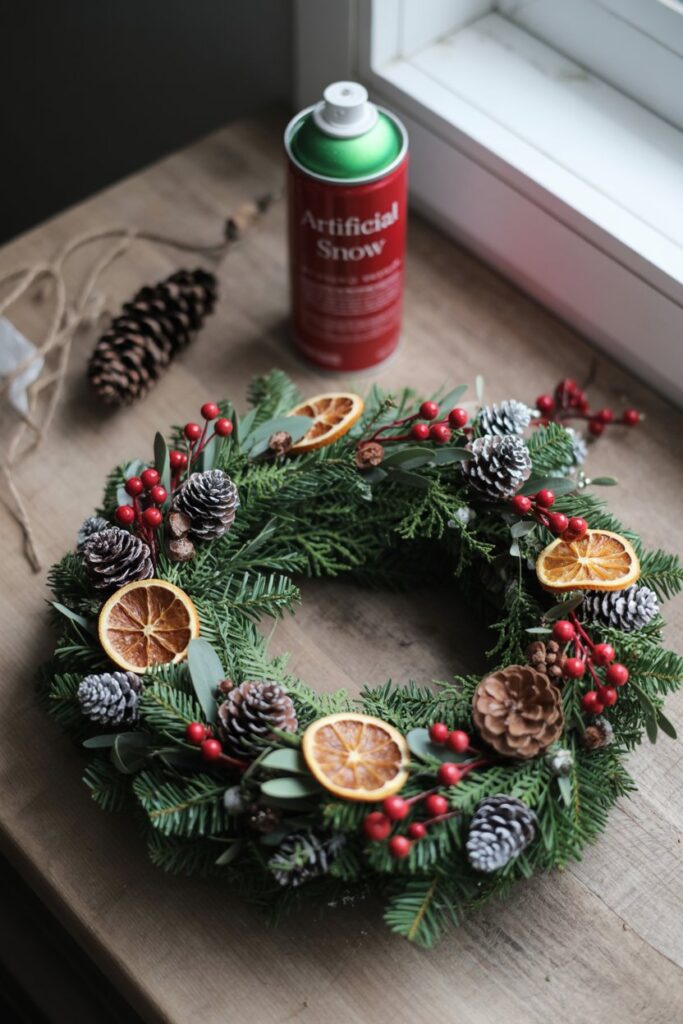
Step 5: Add Filler Elements 🎄
Time for the fun part—adding texture! Think of your wreath like an outfit. The greenery is your base layer; now it’s time to accessorize.
Try mixing in:
- Pinecones for rustic charm
- Red berries for a pop of color
- Dried orange slices for that cozy, old-fashioned feel
- Mini ornaments for sparkle
You can glue or wire them in. IMO, using wire gives you flexibility to change things up later.
Bonus idea: Sprinkle a bit of artificial snow spray on your pinecones. It gives that “I just pulled this from a snowy forest” aesthetic.
Step 6: Add a Statement Ribbon or Bow 🎀

No Christmas wreath is complete without a show-stopping bow. Choose a wired ribbon so you can shape it easily and make it look full.
I love using plaid or velvet ribbon because they instantly scream “holiday.” If you’re going modern, go for metallic gold or silver.
Want that professional “fluffy bow” look? Loop your ribbon into 4–6 equal circles, pinch the middle, tie with floral wire, and fan it out. Then attach it to your wreath with wire or glue.
Hot tip: The Morex Wired Velvet Christmas Ribbon (Amazon) comes in rich red and green shades that practically glow under your Christmas lights.
Step 7: Add Ornaments & Sparkle ✨

Okay, time to go glam. Grab some mini ornaments, bells, or glitter accents and start tucking them into the greenery.
Stick with a color scheme—because trust me, red + gold + silver + blue + glitter + plaid is not a vibe.
Try these combos instead:
- Classic: Red + Gold
- Winter Wonderland: Silver + White
- Rustic: Green + Brown + Burlap accents
Want a bit of glow? Add a strand of battery-operated fairy lights like the Minetom 33ft LED String Lights. They’re bendable and easy to hide in the wreath.
Step 8: Secure Everything (Because Wind Is Savage) 💨
Before you hang your masterpiece, give it a good shake. Anything loose? Reinforce it with hot glue or wire.
It might sound obvious, but you’d be surprised how many pinecones end up as driveway decor after the first windy night.
Pro tip: Spray your wreath with a clear sealant if it’ll hang outdoors. It keeps the colors from fading and helps it last longer than just one season.
Step 9: Add Personal Touches 💌
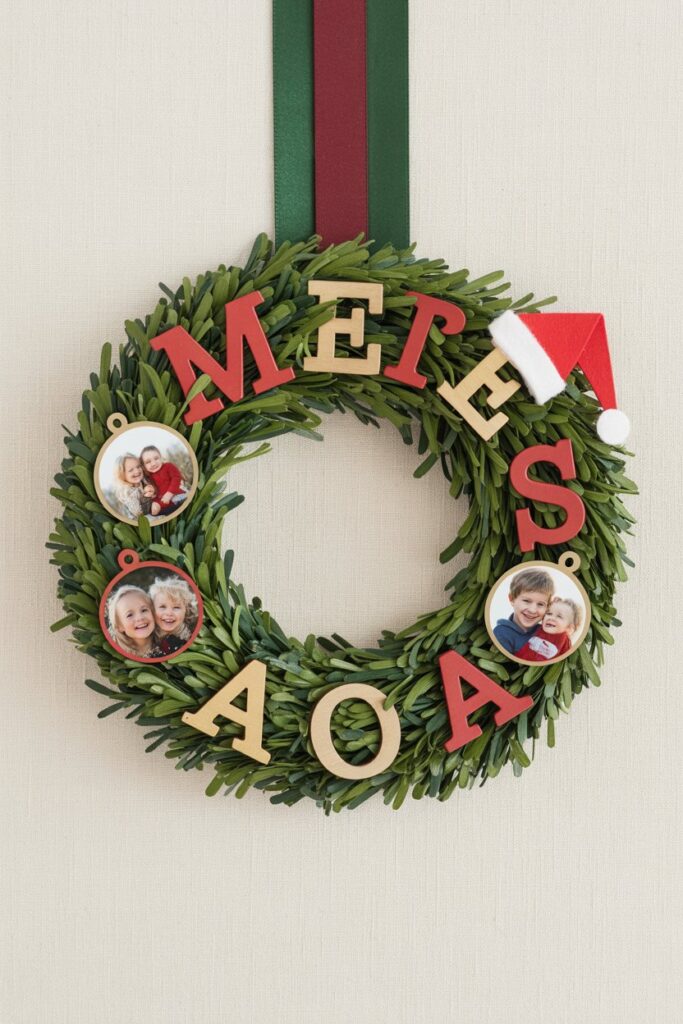
Now for the part that makes your wreath yours. Add something that reflects your personality or family.
Ideas:
- A small wooden monogram letter painted in festive colors
- Mini photo ornaments of family moments
- A tiny Santa hat tucked into the side (adorable, trust me)
I once added tiny cinnamon sticks tied with twine, and people legit thought it came from a boutique. Little touches go a long way.
Step 10: Hang It Like You Mean It 🪶
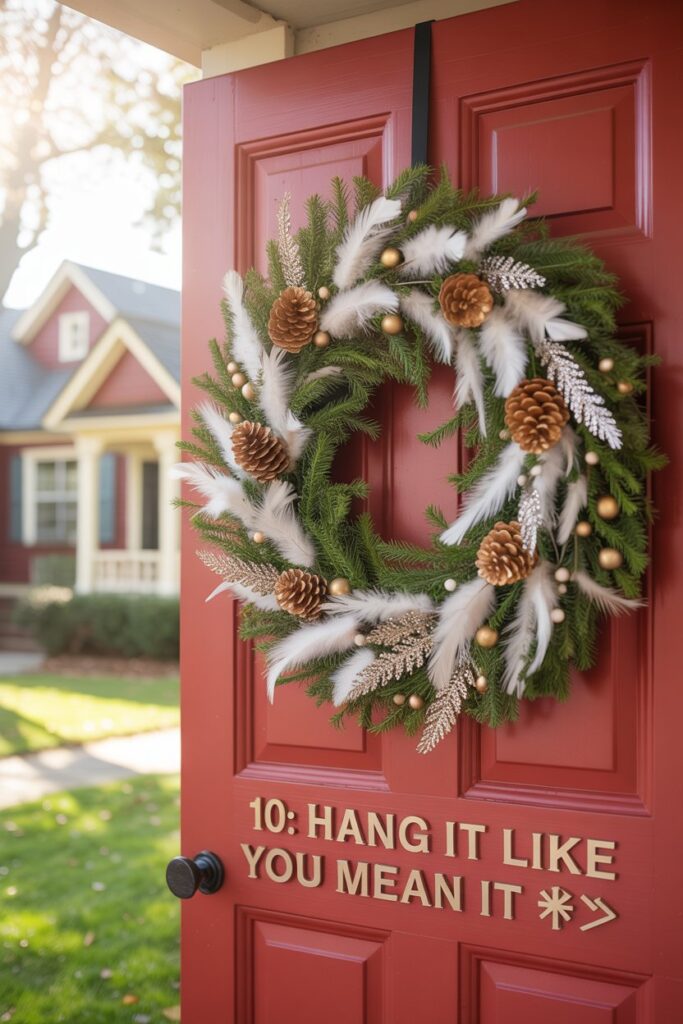
Once you’re satisfied (and maybe slightly covered in glitter), it’s time to hang your wreath.
Use a sturdy over-the-door hook or Command outdoor hook so it stays put. Adjust the height so it sits nicely in the center of your door—eyeball it from the sidewalk if needed (bonus: your neighbors will know you’re festive and committed).
If you’re hanging indoors, try placing it above a fireplace or on an empty wall. Wreaths aren’t just for doors anymore—go wild!
Step 11: Step Back and Admire Your Craftiness 😍

Take a moment. Seriously. You just made something beautiful, festive, and 100% you.
Snap a few photos (because Pinterest needs to see this), pour another cup of cocoa, and bask in your DIY glory.
And if anyone asks where you bought it, just smile mysteriously and say, “Oh, this old thing? Just something I threw together.” 😉
Bonus Tips for DIY Success 🌟
Because we both know not everything goes according to plan…
- Avoid over-decorating. When in doubt, step back. If it looks too crowded, it probably is.
- Reuse materials. A good wreath base can last for years—just switch out the decorations annually.
- Mix scents. Add cinnamon sticks, dried oranges, or scented pinecones for a natural fragrance.
- Safety first. Unplug your fairy lights when you’re not home (you know, just in case).
Product Roundup (All Amazon Finds for Easy Shopping 🛍️)
Here’s a quick recap of the must-haves I swear by:
- Grapevine Wreath Base – Rustic and durable.
- Morex Wired Velvet Ribbon – For perfect bows every time.
- Surebonder Dual Temperature Glue Gun – Easy control, no burns.
- Fiskars SoftGrip Wire Cutter – Comfortable and precise.
- Minetom LED Fairy Lights – Add instant magic.
- Yankee Candle Balsam & Cedar Spray – Smells like Christmas in a bottle.
You can find them all on Amazon and have your wreath supplies delivered faster than Santa slides down the chimney.
Conclusion 🎅
And there you have it—your Christmas wreath DIY tutorial step by step, from start to sparkly finish.
You gathered, glued, twisted, fluffed, and probably got glitter in your hair (welcome to the club). But the result? A gorgeous, custom-made wreath that brings serious holiday cheer every time you walk past it.
So, are you ready to DIY your own Christmas magic this year? Because honestly, once you make one wreath… you’ll end up making five. (Don’t say I didn’t warn you 😅).